Free Crochet Pattern
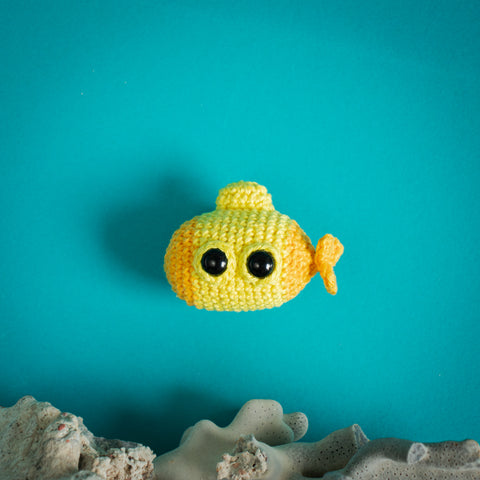
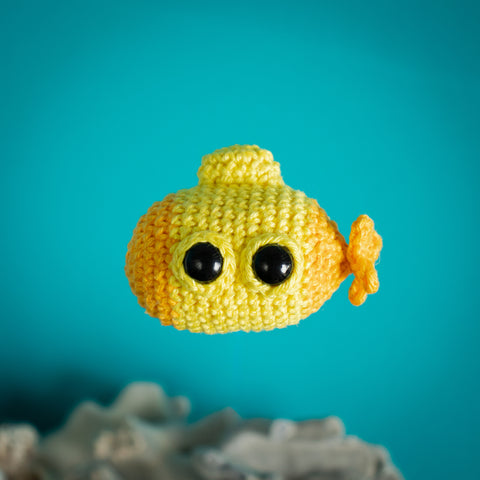
Yellow Submarine
Ahoy, yarn enthusiasts and crochet captains! Are you ready to take your crafting skills on an underwater adventure? Grab your hooks, jump abord and sing along with us! Because, “We All Live in a Yellow Submarine"!
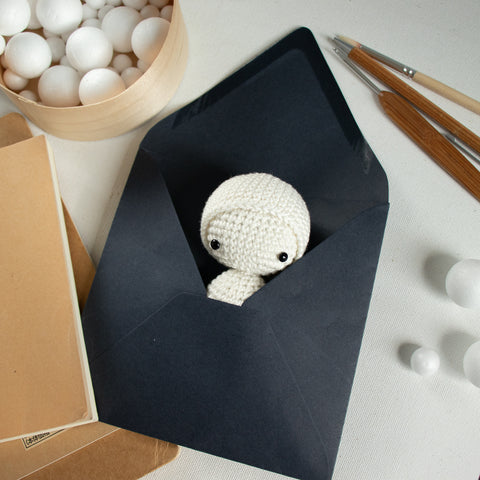
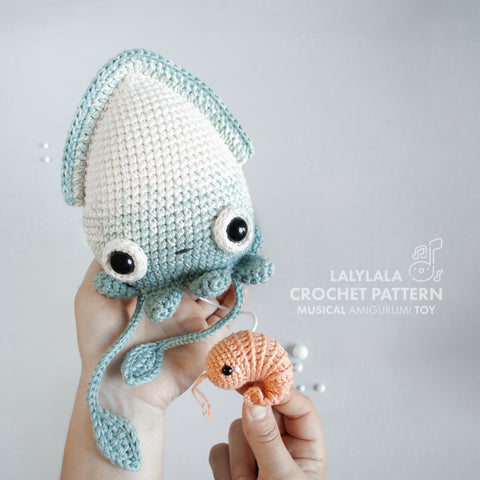
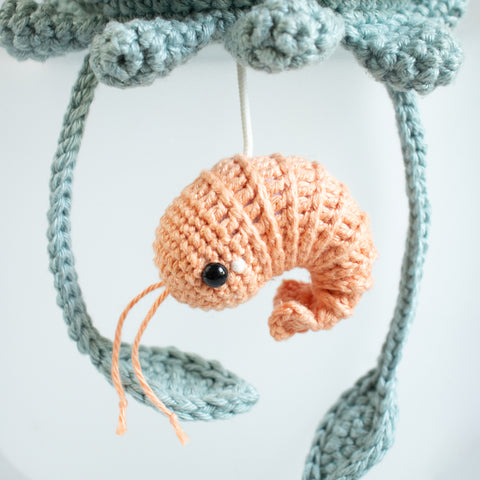
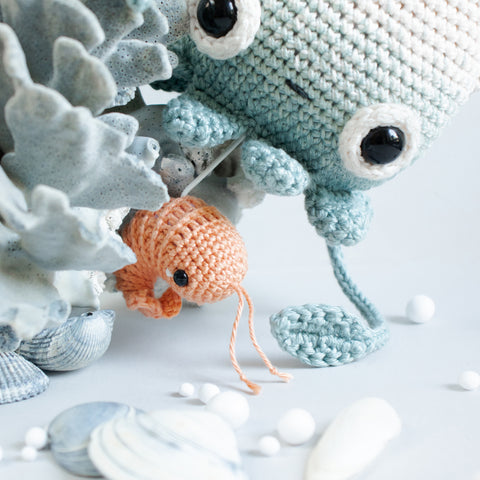
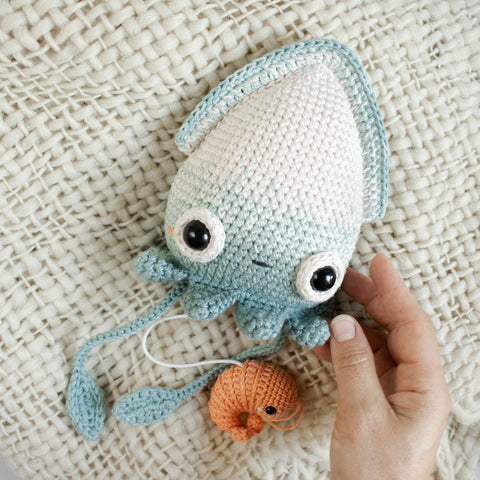
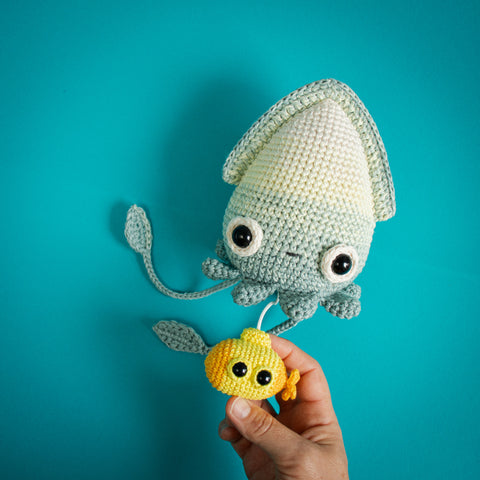
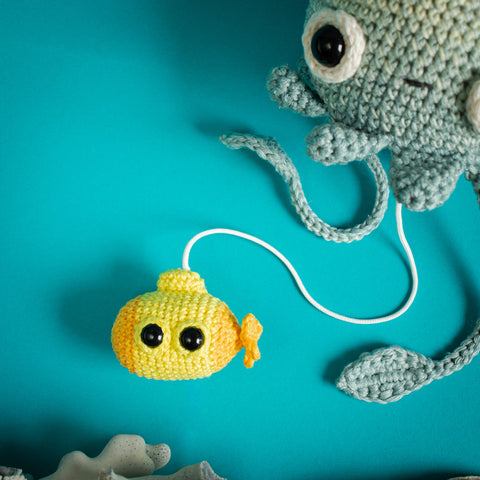
Our free mini crochet pattern for a delightful little yellow submarine isn’t just a whimsical accessory for the Beatles fan in your life – it’s also the perfect alternative handle for your Baby Squid Seamus musical toy, or simply a quirky addition to your collection of crocheted keychains!
Happy crocheting! 🐙✨

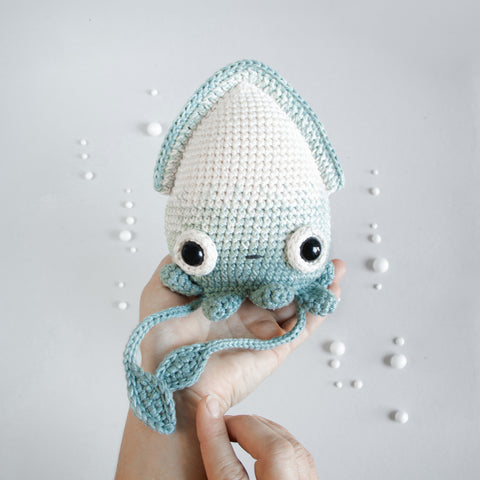
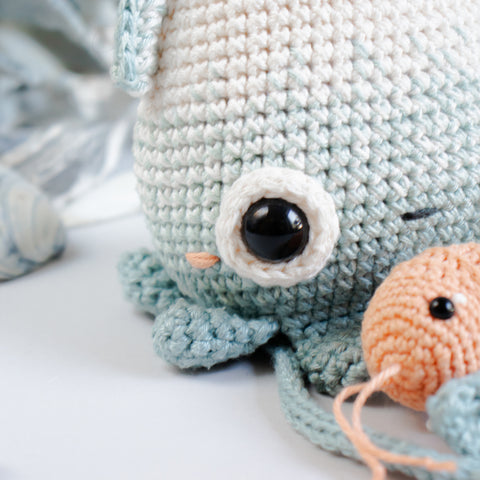
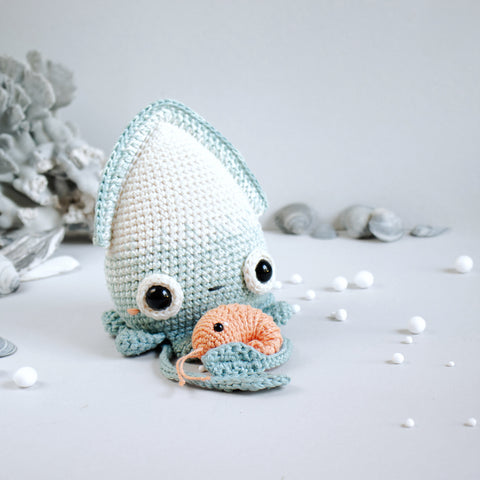
This pattern is an add-on to "Squid Seamus - Musical Toy"
What is an add-on? An add-on is a little additional pattern to a commercial lalylala pattern. Using the add-on you can modify the original amigurumi or add new parts to turn it into something else. Sometimes you can't use an add-on without the original pattern that it's related to. But often the add-on pattern can also be used as a stand-alone toy, so is the mini submarine pattern.


Shopping List
Before you set off, equip yourself with everything you need for your deep-sea expedition. You can fish all the material from our webshop.
Notions
Crochet Hook: 2.25 mm (US: B/1, UK: 13), or 2.5 mm (US: -, UK: 12)
4x Black Safety Eyes, 10mm (0.4 inch)
Stitch Markers
Darning Needle
Pins
Scissors
Soft Stuffing (e.g. Polyfiber Fill)
Yarn: Scheepjes Catona
Yellow 280 Lemon 10g
Gold 208 Yellow Gold 10g
Abbreviations (US terms)
ch = chain stitch
dec = decrease (single crochet 2 sts together)
-flo = work into front loops only
hdc = half double crochet
inc = increase (2 sc into the same stitch)
rnd(s) = round(s)
sc = single crochet stitch
slst = slip stitch
st(s) = stitch(es)
°…° = instructions between ° and ° being worked all into the same stitch or spot
[…] …x = repeat instructions written in brackets as a sequence as often as given after the closing bracket, (example: [sc 1, inc] 3x = sc 1 into the first stitch, increase into the next stitch, repeat working 1 sc and 1 inc into the next stitch 3 times total)
(…) = total number of sts at the end of a rnd


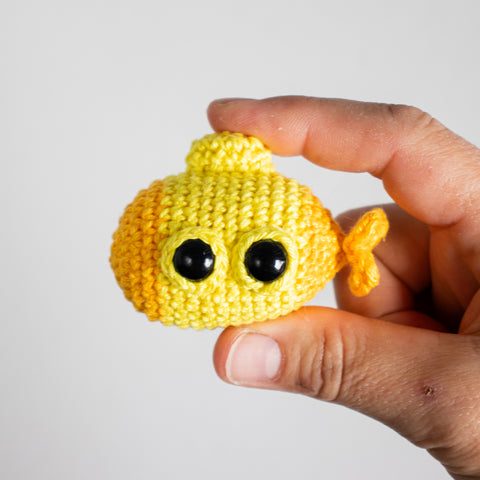
The tiny Yellow Submarine
In order to be able to attach the submarine to the pull cord of the music box of the squid as you go, we start with the conning tower to be made first.
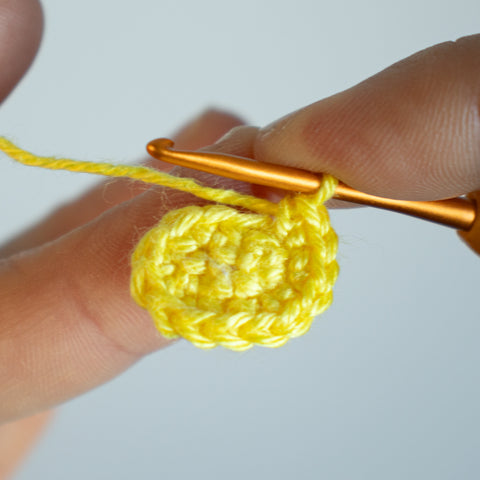
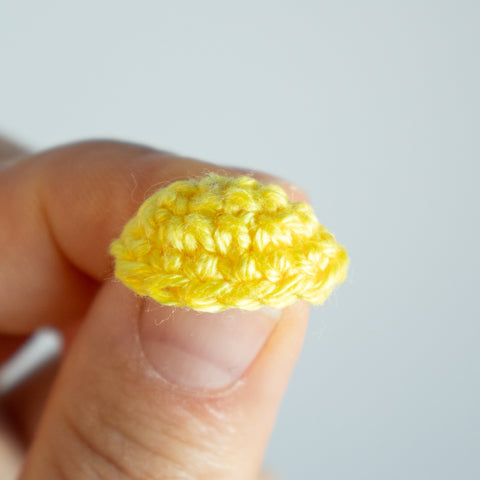
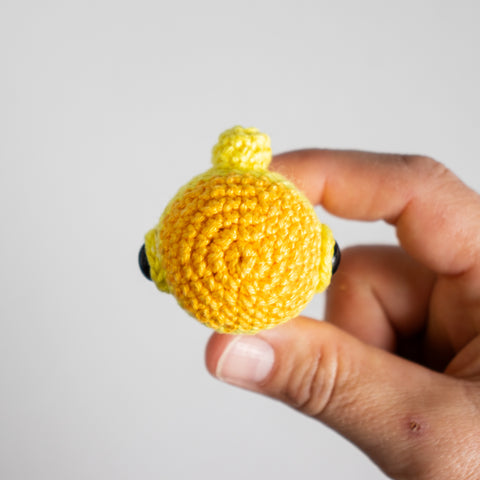
Conning Tower
Make a foundation chain of 4 ch from yellow.
01. Along the chain, starting in the 2nd ch from hook:
sc 2, °sc 3° into the last stitch, sc 1, °sc 2° (8)
Slst 1 into the first st to adjust the beginning of the following rnds.
02. Place a stitch marker into the next stitch - here's the beginning of following rnds:
sc 1, [inc] 3x, sc 1, [inc] 3x (14)
03. sc 14
Slst 1, cut the yarn with a long rest, close the rnd invisibly and put the tower aside for now.
The Submarine Body
Start with a magic loop from yellow gold. Crochet in a continuous spiral.
01. sc 6 (6)
02. [inc] 6x (12)
03. [sc 1, inc] 6x (18)
04. sc 1, inc, [sc 2, inc] 5x, sc 1 (24)
05. [sc 3, inc] 6x (30)
06. sc 30
Change to yellow.
07.-16. (10 rnds) sc 30
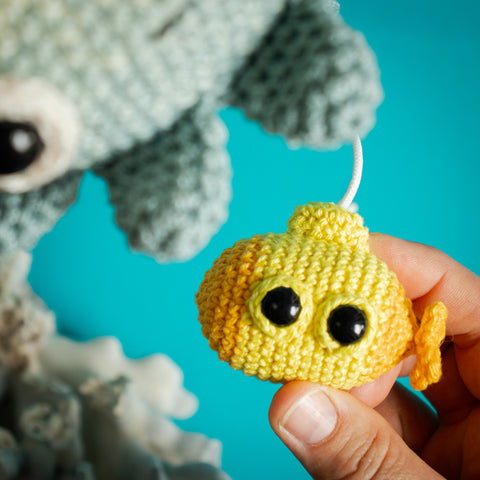
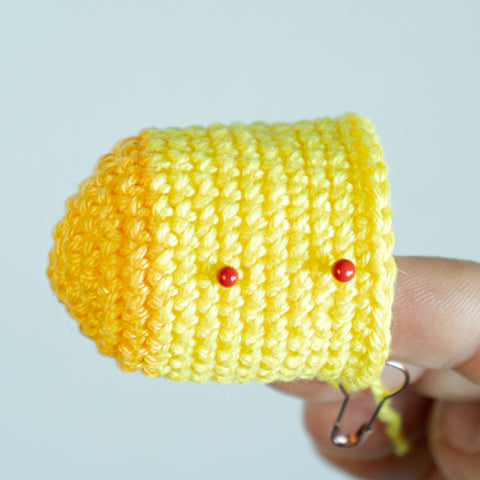
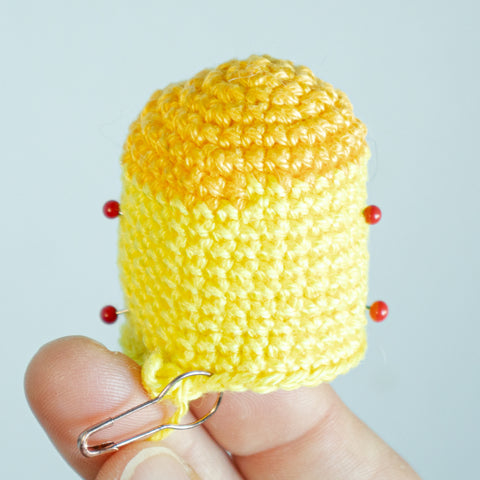
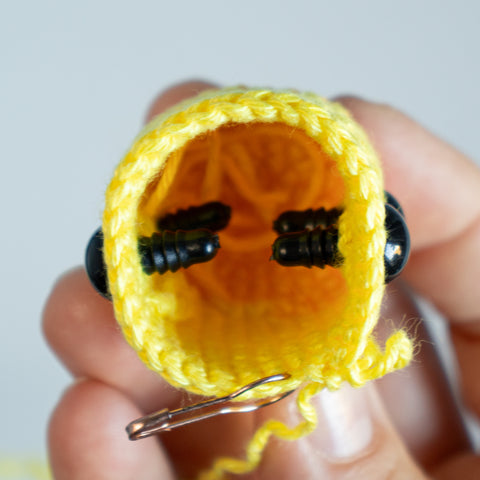
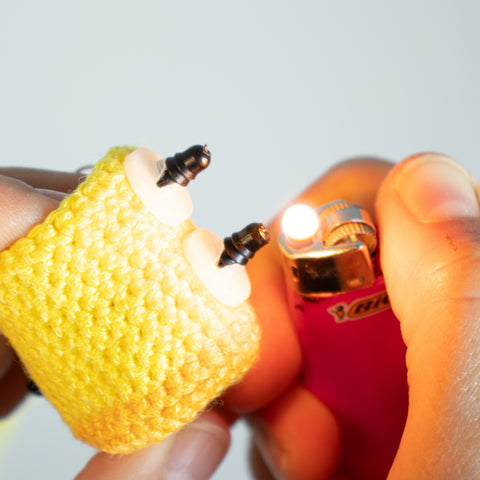
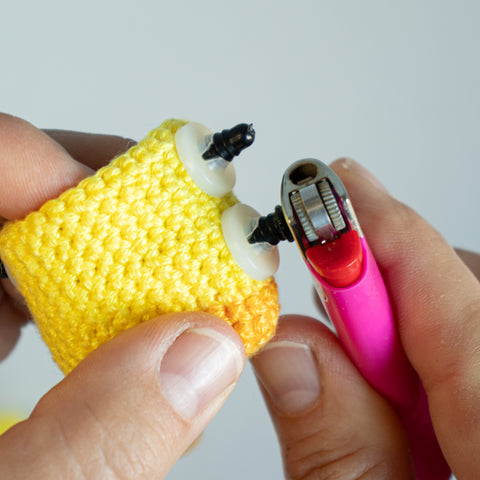
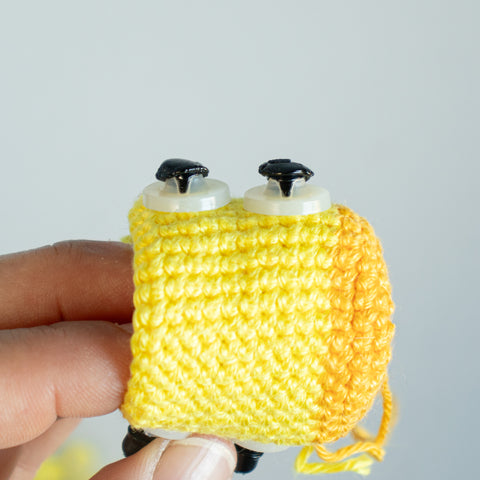
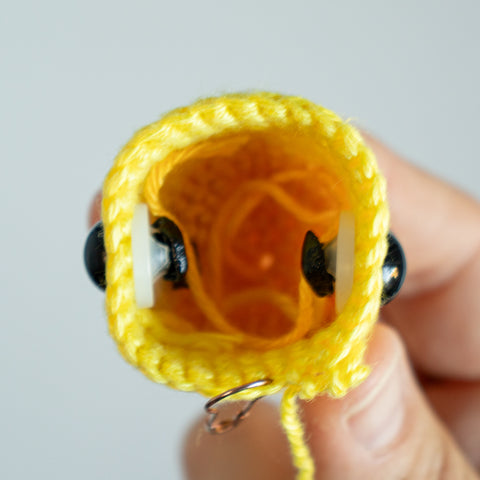
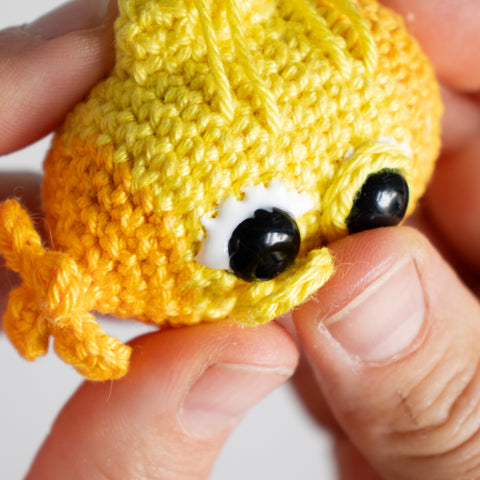
Attach the porthole windows (10mm toy eyes) between the 3rd and 4th and between the 8th and 9th bright yellow rnd with distance of 15 sts being visibly between the window-eyes at the left and right side. Seal the back of the eyes with a lighter so that the shanks do not disturb when stuffing the submarine.
Change to yellow gold and crochet on:
17. [dec, sc 3] 6x (24)
18. sc 1, dec, [sc 2, dec] 5x, sc 1 (18)
Stuff the first half of the submarine very well.

Joining Submarine and Squid
If the submarine is a stand-alone amigurumi toy, skip the following box and go ahead with rnd 19. If you want to have the submarine to be an alternative handle for Squid Seamus, follow the instructions as given in the box below. But first make sure that Seamus' body is finished and closed and the music box inside his body has stopped playing!
On the Submarine
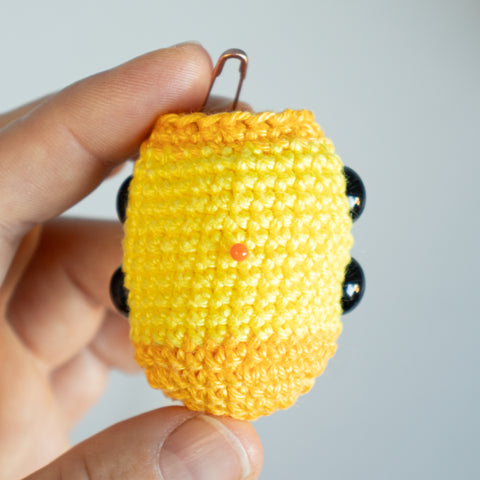
Mark the stitch that is standing right in the middle of the top side of the submarine, in between the 5th and the 6th yellow rnd.
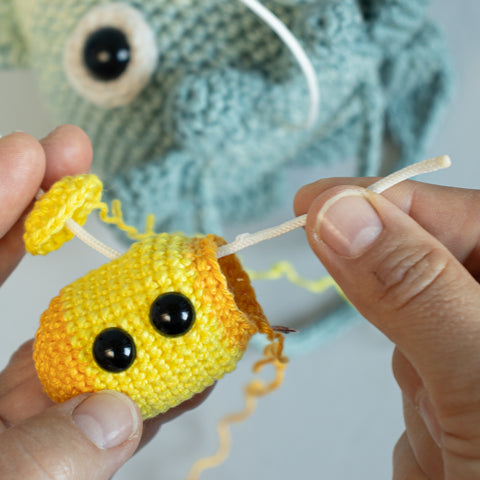
Attach the Pull Cord
Now, run the end of the pull cord of the music box through the center of the foundation chain at the tower as well as though the marked stitch at the top of the submarine.
Push both - tower and submarine upwards.
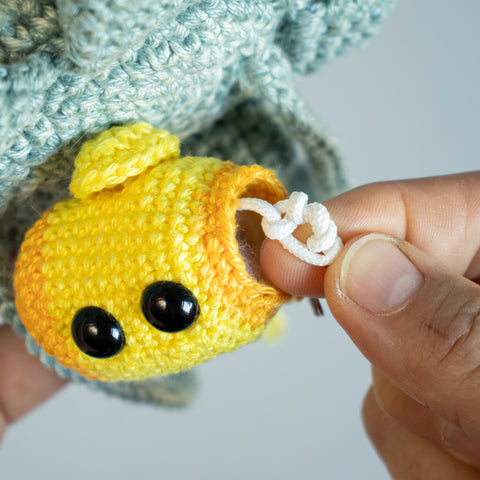
Make a big Knot
Tie a big sturdy knot into the end of the pull cord at a length of approx. 5-6 cm (2-2.5 inch), measured from the bottom of the squid's body.
This leaves you with the submarine hanging approx. 4 cm (1.5 inch) below the bottom of the squid when the music box has stopped to play.
Push the knot and the remaining length of the pull cord inside the submarine.
Now, stuff the rest of the submarine very well.
19. [dec, sc 1] 6x (12)
20. [dec, sc 1] 4x (8)
Stuff the submarine well again.
21. [dec] 4 (4)
Do not cut the yarn yet, but create the Propeller:
Rnd 22
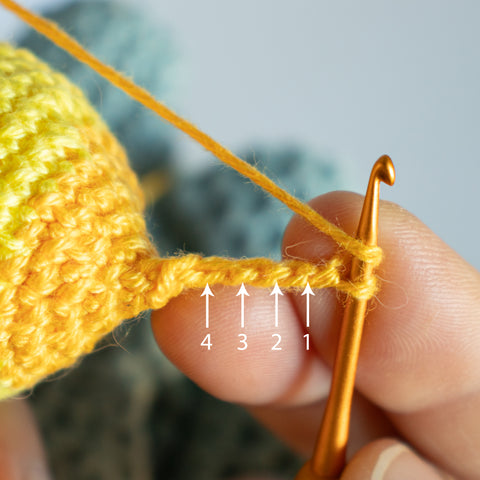
Slst-flo 1 into the next st, ch 4.
Now, into the back bumps at the backside of the ch4-chain.
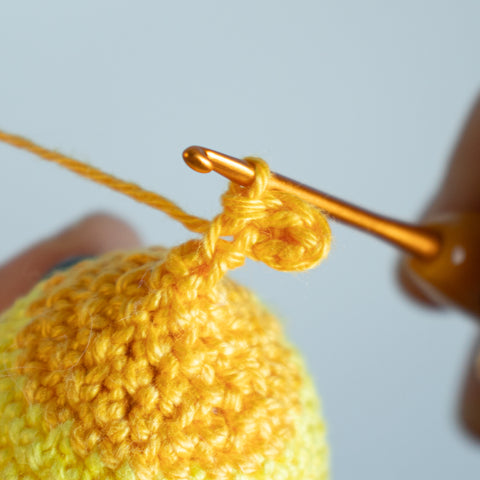
Starting in the 2nd back bump from hook: hdc 2, slst 1.
Slst-flo 1 into next stitch at the open end of the submarine.
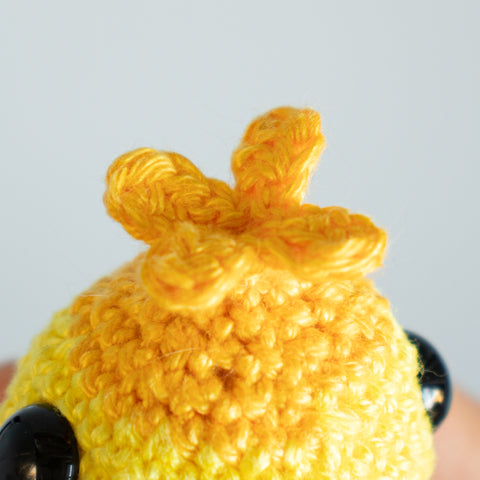
Repeat [ch 4, into the back bumps: hdc 2, slst 1] 3x to end up with 4 nice little rotor blades total.
Skip the very last slst to be made at the open end of the submarine after the last rotor blade, but cut the yarn and close the rnd invisibly into the first slst of the rnd.
Joining Tower and Submarine
Use the long yarn rest of the tower to sew it on top on the submarine. Make sure that the tower is attached right in the middle in between the porthole windows. Before the tower is sewn onto the body completely, put a little bit of stuffing into the tower so that it's properly keeping its shape.

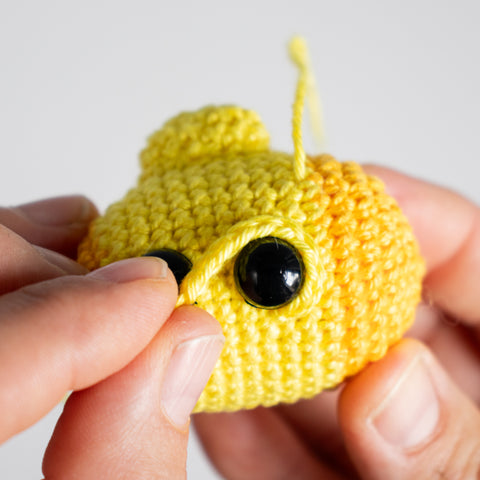
Porthole Frames - make 4
Make a foundation chain of 10 ch from yellow. Cut the yarn with a long rest and pull the end through the last ch carefully.
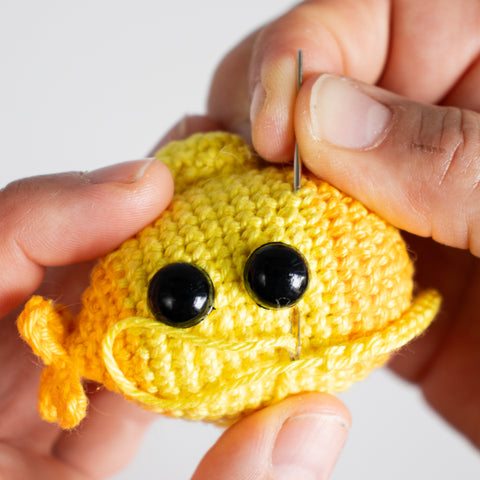
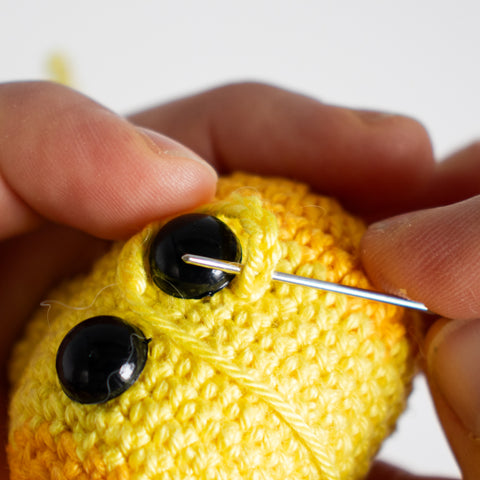
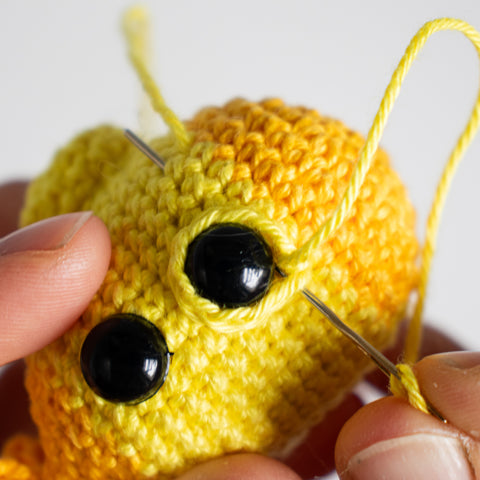
Thread the beginning thread of the chain to a needle. Insert the needle closely to the safety eye, coming out through a stitch at the topside of the submarine.
Next, wrap the chain around the porthole and close the chain to a ring invisibly using the long yarn end of the chain. Weave in the ends.
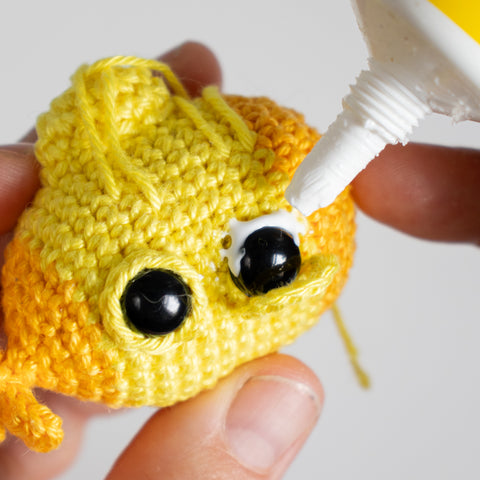
Now, glue or sew the frame in pace, so that it won’t come off. Repeat for all 4 portholes.
© 2024 Lalylala Amigurumi . Lydia Tresselt . All rights reserved. No part of this pattern may be published, resold, reproduced (in any form or by any means, electronic or mechanical, by photocopying, recording or otherwise), shared, translated or altered without prior permission in writing from the author.
The design and pattern are copyright and must not be reproduced for resale! You cannot sell finished toys made from this pattern. For your personal use (non-profit) or for charity purposes you are permitted to make as many items from this pattern as you like.